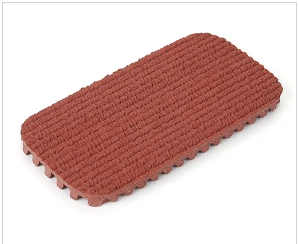
How to Install the Pickleball Court
Transform any outdoor space into a professional-grade pickleball sports court with Enlio’s easy-to-install sports surface. This step-by-step guide walks you through every phase of the installation—from site preparation to final inspection—so you can enjoy a safe, durable, and perfectly level playing court in no time.
1. Gather Your Tools & Materials
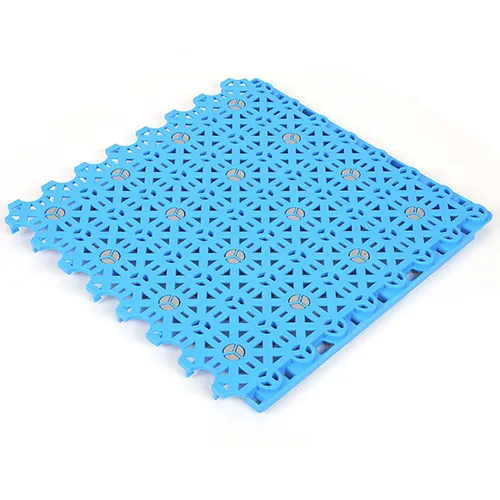
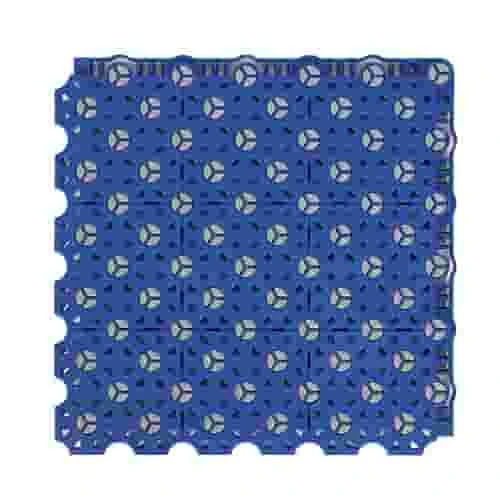
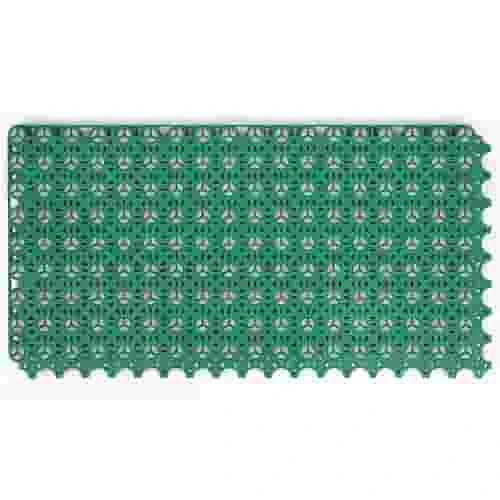
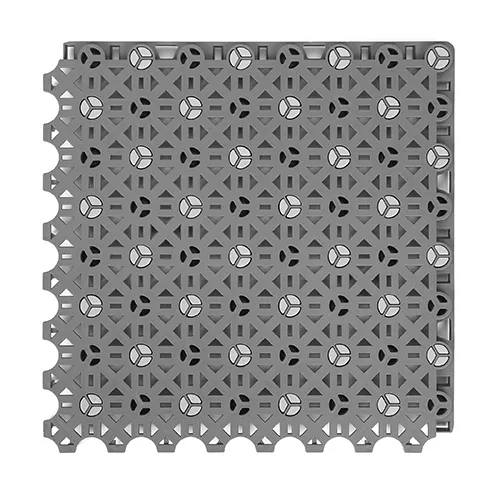
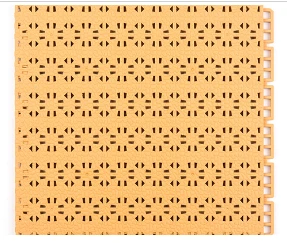
Interlocking Court Tiles: Enlio SES or PP series outdoor tiles (pre-measured by court kit)
Measuring Tape & Chalk Line: For accurate layout and boundary marking
Rubber Mallet: To gently lock tiles together
Utility Knife or Tile Cutter: For precise edge and corner cuts
Safety Gear: Gloves and knee pads to protect your hands and joints
Optional: Line-painting kit if you prefer painted lines over colored tiles
2. Site Preparation
Choose the Location: Select a flat, well-drained area. Ideally, orient the court north-south to minimize sun glare.
Clear & Level: Remove vegetation, debris, and any surface irregularities. Gradually slope the base at least 1% away from the center to ensure water runoff.
Compact the Subbase: Lay and compact 4–6 inches of crushed gravel or stone for a stable foundation. A hand tamper or plate compactor works best.
3. Lay Your Base Layer
Weed Barrier: Roll out landscape fabric to prevent weed growth beneath the court tiles.
Edge Restraints: Install fixed anchors or timber boards along all four sides to keep tiles from shifting.
Confirm Level: Use a long straightedge and spirit level to check for any dips or humps; amend as needed before proceeding.
4. Install the Tiles
Start Corner-to-Corner: Begin at one corner, aligning the first tile precisely with your chalk lines.
Interlock Tiles: Connect each subsequent tile using the integrated snap-lock system. Tap gently with a rubber mallet for a secure fit.
Edge & Corner Cuts: Trim tiles at boundaries using a utility knife or tile cutter, ensuring clean, flush edges against restraints.
Expansion Gap: Leave a ¼"–½" gap around fixed objects (nets, posts, fences) to allow for thermal expansion.
5. Mark Court Lines (Optional)
Pre-Colored Lines: If you’ve chosen tiles with factory-molded court lines, no additional painting is required.
Painted Lines: Clean the surface, mask off each line with painter’s tape, and apply outdoor acrylic court paint. Allow adequate drying time between coats.
6. Install Net System
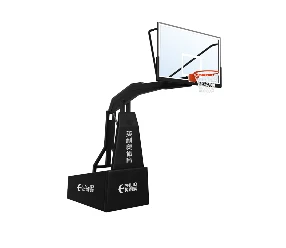
Anchor Posts: Drill or anchor your net posts at regulation distance (36 ft apart on center).
Attach the Net: Hang the pickleball net at 34" in the center, 36" at the sidelines, and tension evenly for optimal play.
7. Final Inspection & Maintenance
Check for Gaps: Walk the perimeter and seams to ensure all tiles are locked and no edges are lifting.
Clean Surface: Sweep or blow off debris. Enlio tiles are UV-stable and drain quickly after rain.
Routine Care: Simply hose or pressure-wash annually, and replace any damaged tiles by snapping out and snapping in new ones.
With Enlio’s modular court system, you’ll have a turnkey pickleball playing surface that combines superior traction, shock absorption, and effortless installation—so you can focus on the game, not the upkeep. Ready to serve up success? Contact Enlio today to get your custom court kit and start playing on your brand-new pickleball court!
Son Haberlerimiz


